Yes, laminate floors can be installed over concrete subfloors, but proper preparation is essential to ensure a successful and long-lasting installation. Here’s how to install laminate flooring over a concrete subfloor:
- Prepare the Subfloor: Ensure that the concrete subfloor is clean, dry, level, and free of any debris, dust, grease, or moisture. Repair any cracks, holes, or uneven areas in the concrete subfloor using a suitable patching compound or leveling compound.
- Test for Moisture: Before installation, conduct a moisture test on the concrete subfloor to ensure that it is dry enough for laminate flooring installation. Use a moisture meter or plastic sheet test to check for moisture content. The concrete subfloor should have moisture levels within the manufacturer’s recommended range for laminate flooring installation.
- Install a Moisture Barrier: Lay down a moisture barrier or vapor barrier over the concrete subfloor to prevent moisture from seeping into the laminate flooring. Use a high-quality plastic sheeting or moisture barrier specifically designed for laminate flooring installations. Ensure that the moisture barrier extends up the walls slightly and overlaps at seams, then tape the seams securely.
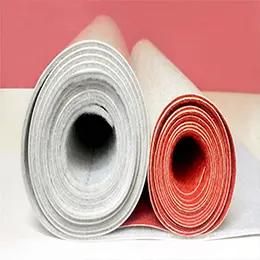
- Install Underlayment: Lay down an underlayment over the moisture barrier to provide cushioning, sound absorption, and additional moisture protection for the laminate flooring. Choose an underlayment specifically designed for laminate flooring installations, such as foam or cork underlayment. Install the underlayment according to the manufacturer’s instructions, ensuring that seams are properly sealed and edges are secured.
- Acclimate the Flooring: Allow the laminate flooring to acclimate to the room’s temperature and humidity for at least 48 hours before installation. This helps the flooring adjust to the environment and minimize the risk of expansion or contraction after installation.
- Install the Flooring: Begin installation by laying the first row of laminate flooring along the longest, straightest wall in the room, leaving a 1/4-inch expansion gap between the flooring and the walls. Use spacers to maintain the expansion gap and ensure proper alignment of the flooring planks. Install subsequent rows of laminate flooring, locking the planks together using the manufacturer’s recommended installation method.
- Cut and Trim: Use a saw to cut and trim the laminate flooring planks as needed to fit around doorways, corners, and obstacles. Be sure to leave the required expansion gap around the perimeter of the room.
- Install Transition Pieces: Install transition pieces, such as T-molding, thresholds, or reducers, at doorways or transitions to other types of flooring. These transition pieces help provide a smooth transition between different flooring surfaces and accommodate expansion and contraction of the laminate flooring.
- Finish and Seal: Once the laminate flooring is installed, remove the spacers and install baseboards or molding to cover the expansion gap around the perimeter of the room. Caulk or seal any gaps between the flooring and walls or transitions to ensure a finished look and prevent moisture intrusion.
By following these steps and ensuring proper preparation, laminate flooring can be successfully installed over a concrete subfloor, providing a durable, attractive, and comfortable flooring surface for your home or space.